Assignment before starting the course
This assignment is an important one as it will enable you to complete your future assignments. It looks long, but it is mostly screenshots to guide you through the process of installing the required software, or a short guide on how to use RStudio Cloud.
0.1 Access to RStudio
Please ensure by the next class that you have access to the software so that you can practice using the formative assignments and complete the summative assignments when they are issued.
The first summative assignment will be issued after class next week and you will be given one week to complete and submit it.
0.1.1 Installing R and RStudio on Your Own Machine
Unfortunately this is not as simple as installing software normally is on your computer. There are two separate things that you will need to install.
0.1.1.1 First: Install R
Follow this link and click on the part that says Download R 3.6.2 for Windows. You will get the following pop-up dialogue:
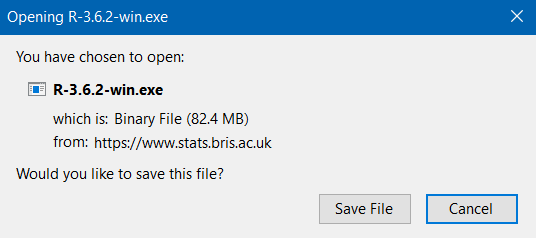
Click "Save File". The file will then be downloaded to your computer, most likely the "Downloads" folder unless you have changed your settings. Double click to run the file.
You will be asked if you want to allow this to make changes to your computer, click yes. Select your language preference, review the license agreement and click next. The following screen will be presented:
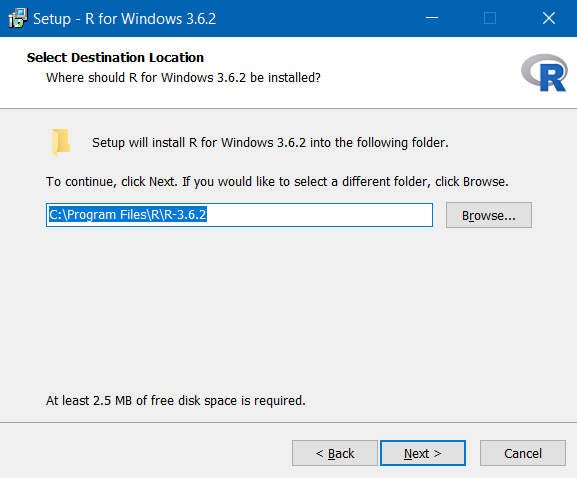
Click next without changing the folder. The next screen let's you customise the installation, but we shouldn't need to make any changes at this point so click next without unselecting any components:

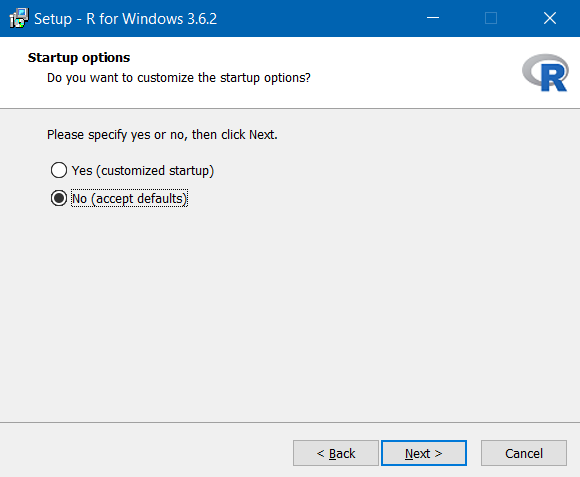
Also leave the star-up options as standard and click next:
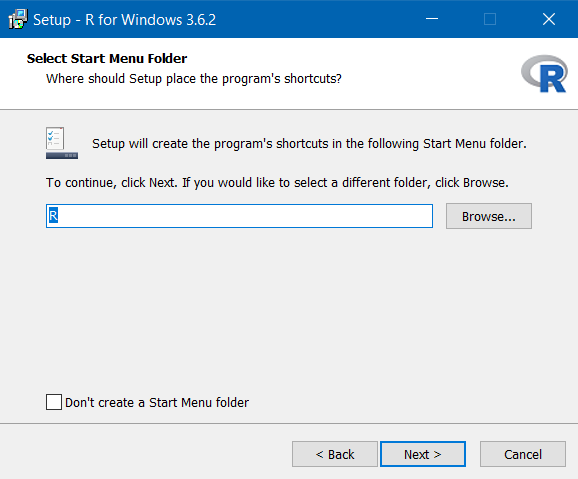
Leave the start menu folder as standard:
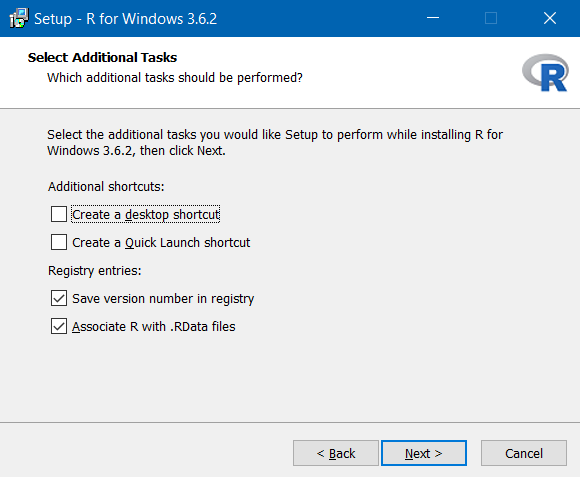
Don't make any changes to the additional tasks part, just click next:
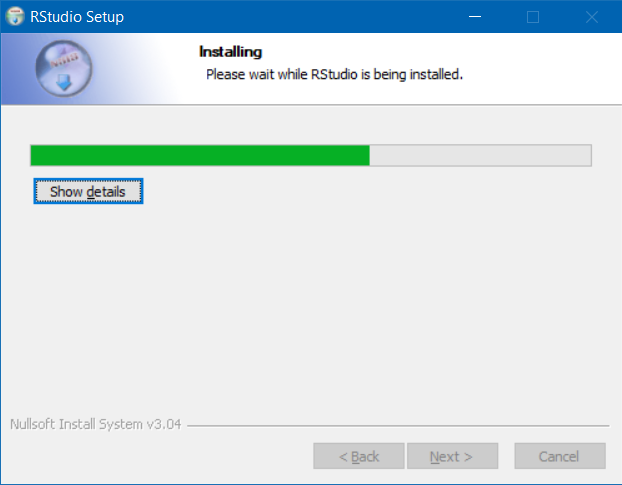
The Install Wizard will then install R:

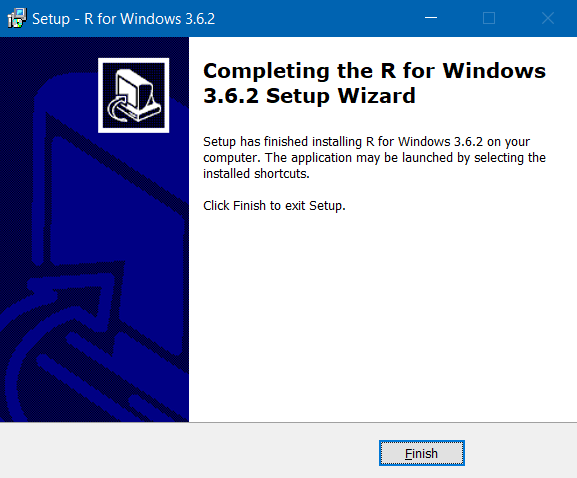
You will be told when installation is complete:
0.1.1.2 Second: Install RStudio
Follow this link to the RStudio website. Scroll down and press the button "Download" under RStudio Desktop- not the Server Option. On the next page press the button under stage 2, "Download RStudio for Windows". Your download will start and you will see the following prompt:

Click "Save File" when the button becomes active.
Look in your download folder and double click the downloaded file. Click to allow the program to make changes to your computer. You will see this part next:

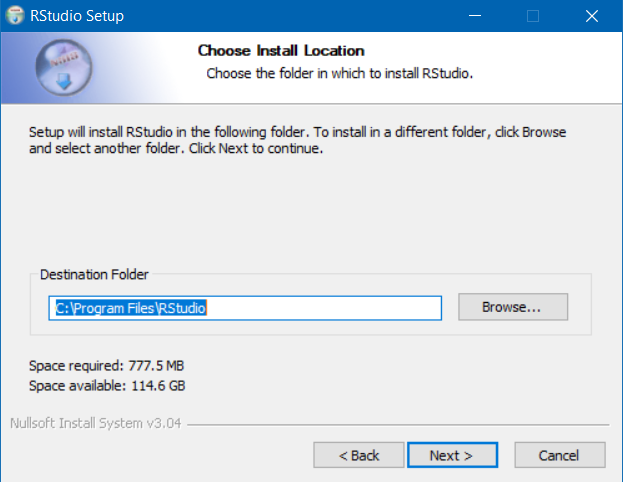
Click next on this next window. Do not change the installation location. Click next:
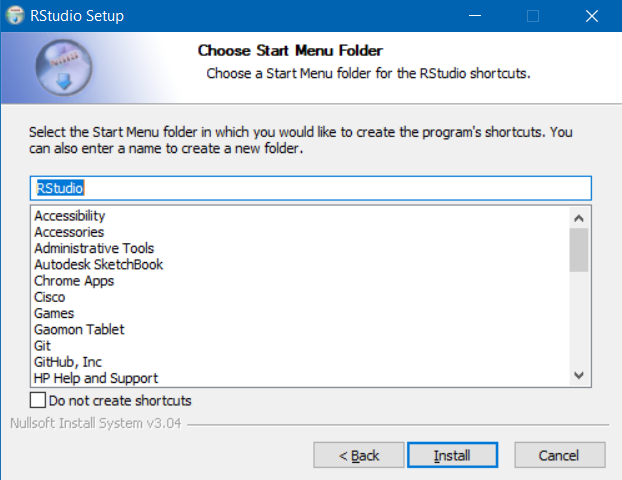
You will be taken to this screen. Again, don't change the start menu folder location here.
Click next and the installation will begin:
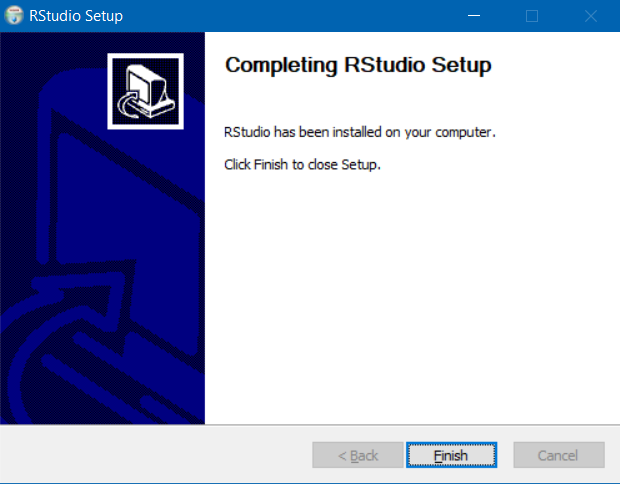
You will then be notified when the installation is complete with this screen:
0.1.1.3 Opening RStudio
Remember that we have installed two programs on our computer. R, which is the base program, and RStudio, which is an extension of R.
The software that we want to open and use is RStudio, not R. We want the shiny interface and added features.
0.1.2 Accessing RStudio on University Computers
If you have a student card you will be able to access computing facilities provided for students, including those in the various libraries across campus. All university computers should have R and RStudio installed, as well as the required packages for this course.
You will not be required to install anything on university computers, please don't attempt to do so because we don't want the IT guys to yell at us.
To login to the university computers you will require your GUID and password.
0.1.3 Using RStudio Cloud
We recognise that not all students will have access to their own computers, and that some of those students will not be able to travel to campus to use the provided facilities. For this reason we recommend to those in that postition to think about using RStudio Cloud, available here.
The RStudio Cloud allows you an electronic workspace, hosted by the RStudio team themselves.
Navigate to the page and click the "Sign Up" button at the top right-hand side of the page.
Once you are logged in you will see your (for now) empty workspace:
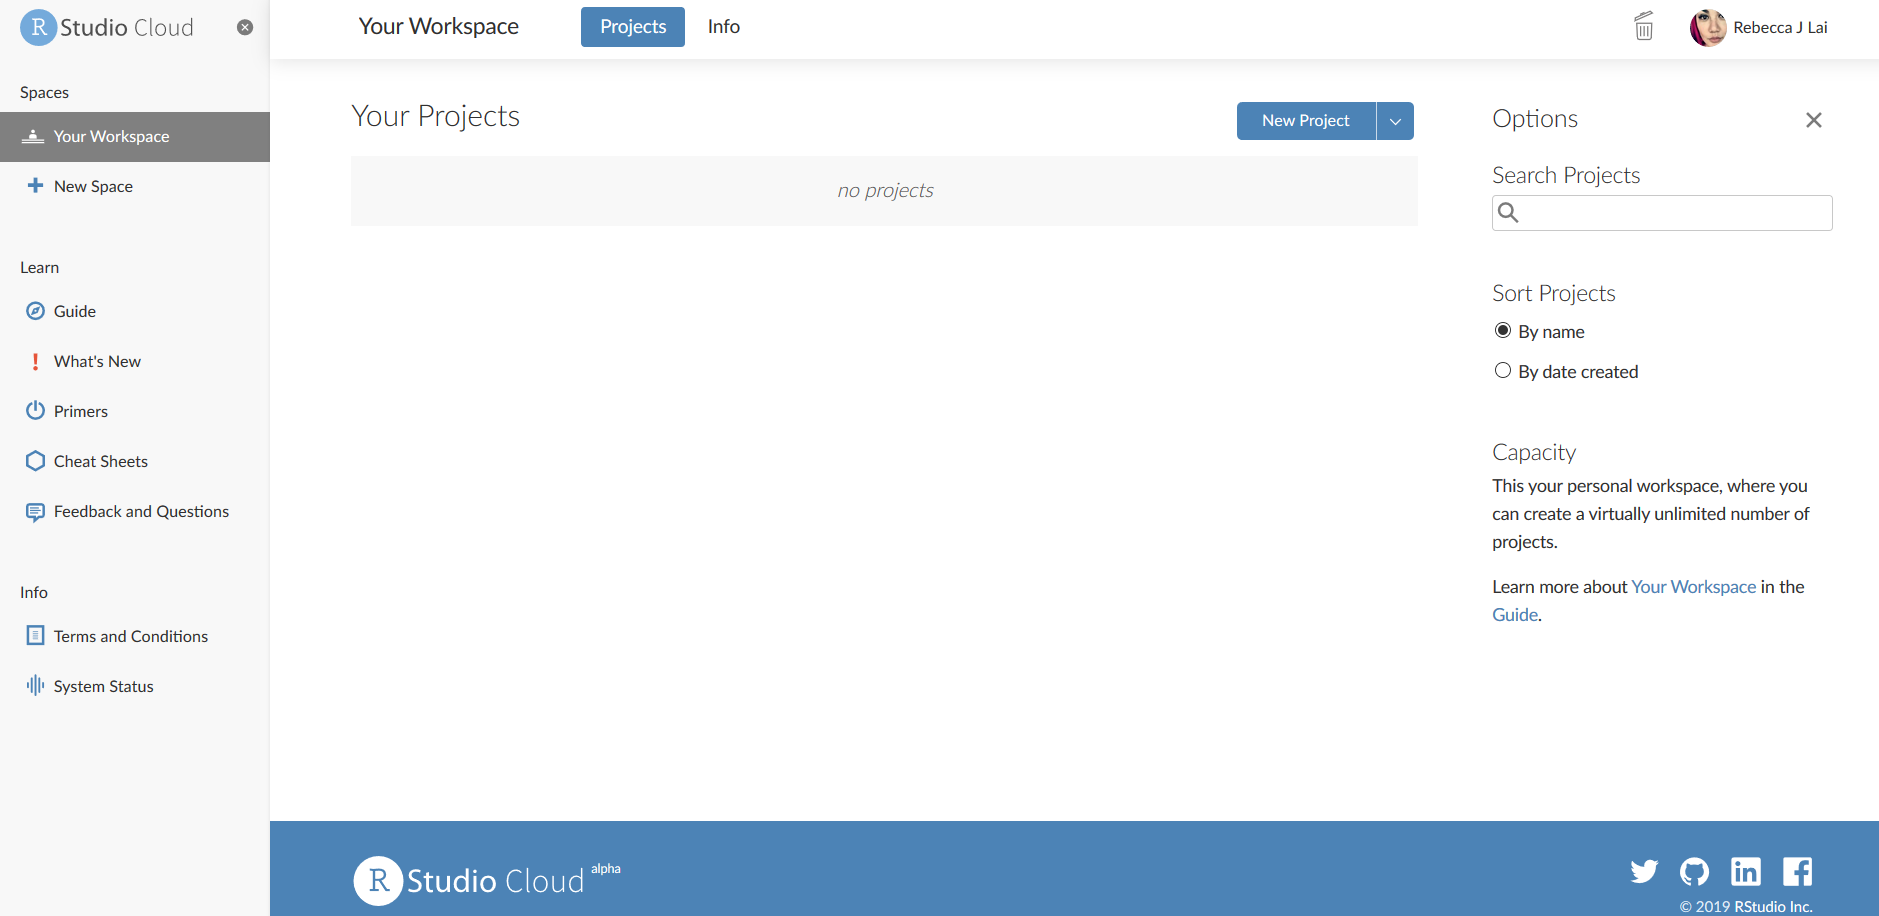
Click on "new project" and you will be taken to this page:

As you can see it is almost identical to the way the program would appear on your computer if you had installed it there.
To name your project you can click the name at the top of the page and type in a new one:

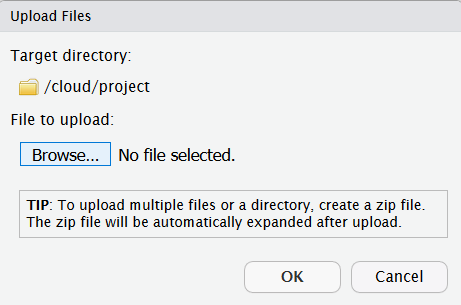
You will also need to upload any data files to the server before you can work with them. This is done with the addition to the panel Files/Plots/Packages/Help/Viewer on the right- the "Files" pane now had a button to upload:
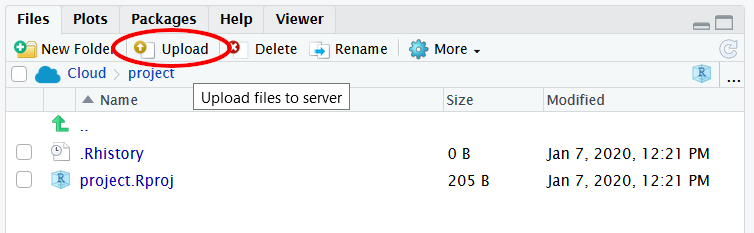
Pressing this will open a pop-up box. Click on the "browse" button, navigate through your directories and identify the file you wish to upload and confirm. Then press ok. The file should then be uploaded and displayed in the files pane.
If at any point you are struggling to access the required materials or software it is important that you contact the tutors at the earliest opportunity to discuss the issues you are having.
We want you to do well and have a good experience learning with us, let us know if you are experiencing difficulty so that we may help you resolve it!
0.1.3.1 Downloading Your Files from RStudio Cloud
If you are using RStudio Cloud your files will be saved on the cloud, but you will need to download the .Rmd files that you have been working with (containing coursework etc) to upload them to the assignment submission pages on Moodle.
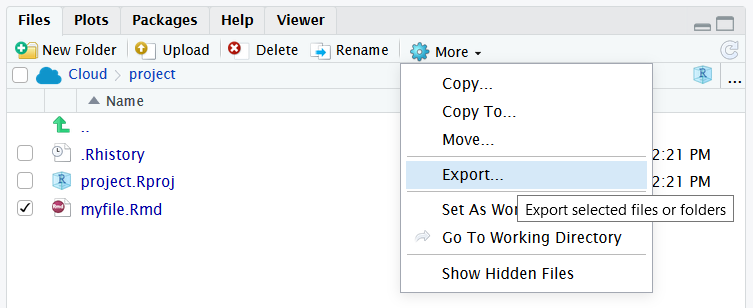
Here you can see the file myfile.Rmd that I have made on the cloud. To download it I select the checkbox next to the file and click on the "More" drop-down menu and click "export", as shown here:
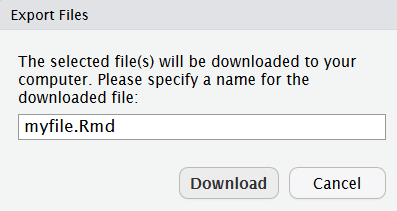
I then get a dialogue box asking me if I want to name the file something different. I will stick with the original name, so I just click "Download":
Now I get a pop-up as I would when downloading any other file. To save the file ensure "Save File" is selected and click "OK":

The file will then be saved in the folder where your downloads are saved (usually the "Downloads" folder by default). You can then navigate to this file when browsing files to upload to Moodle.
0.2 Maximising Reproducibility and Visibility
In order to set up R the way that we require, there are a few more steps.
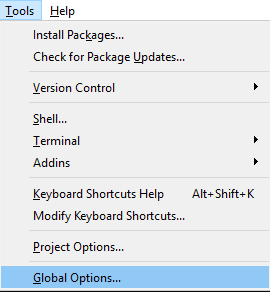
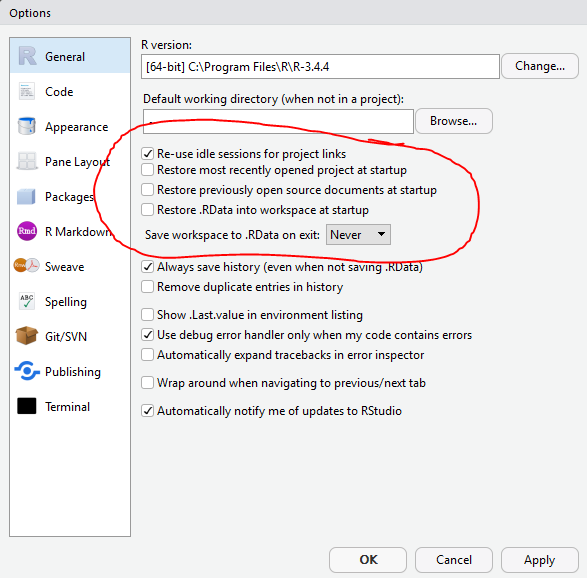
First, open RStudio and click on the Tools menu at the top of the page and click on the part that says "Global Options":
Next, a dialogue box will open. Ensure that these tick boxes and options are selected on yours and click apply:
Finally, go to RMarkdown and ensure that this option is unchecked:

This meaning of the first part will be discussed in future lessons, and the second will mean that graphs that you make will be in the "Plots" tab to the right of the console. This means that code will not be obscured whenever you make a graph.